Switching on AVAPS#
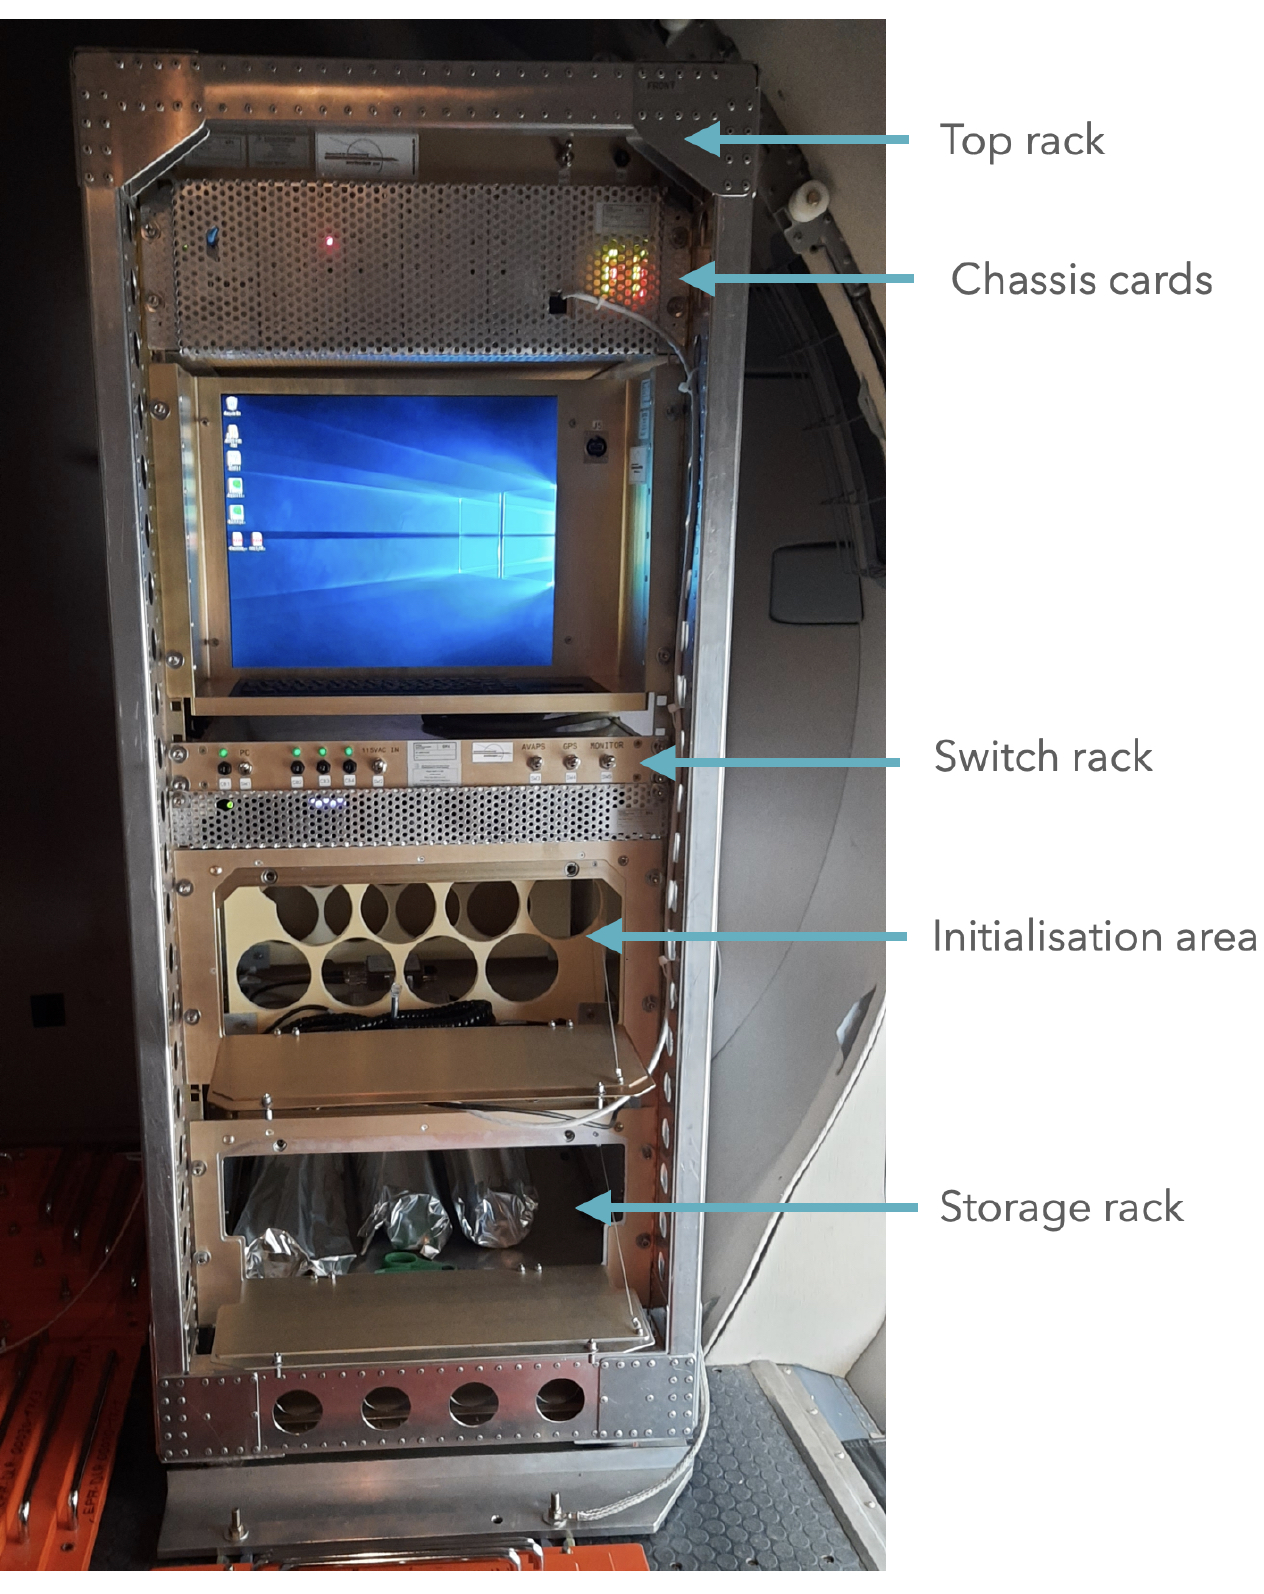
The HRDS rack is situated in the baggage compartment at the back of the aircraft. It is shown and relevant areas are marked in the photograph below.
|
|---|
HRDS Rack (photo courtesy: Geet George) |
Switch on the ventilating fans in the top rack by bringing the switch
SW1(Top rack) to theupposition. Photo below shows switch in theonposition.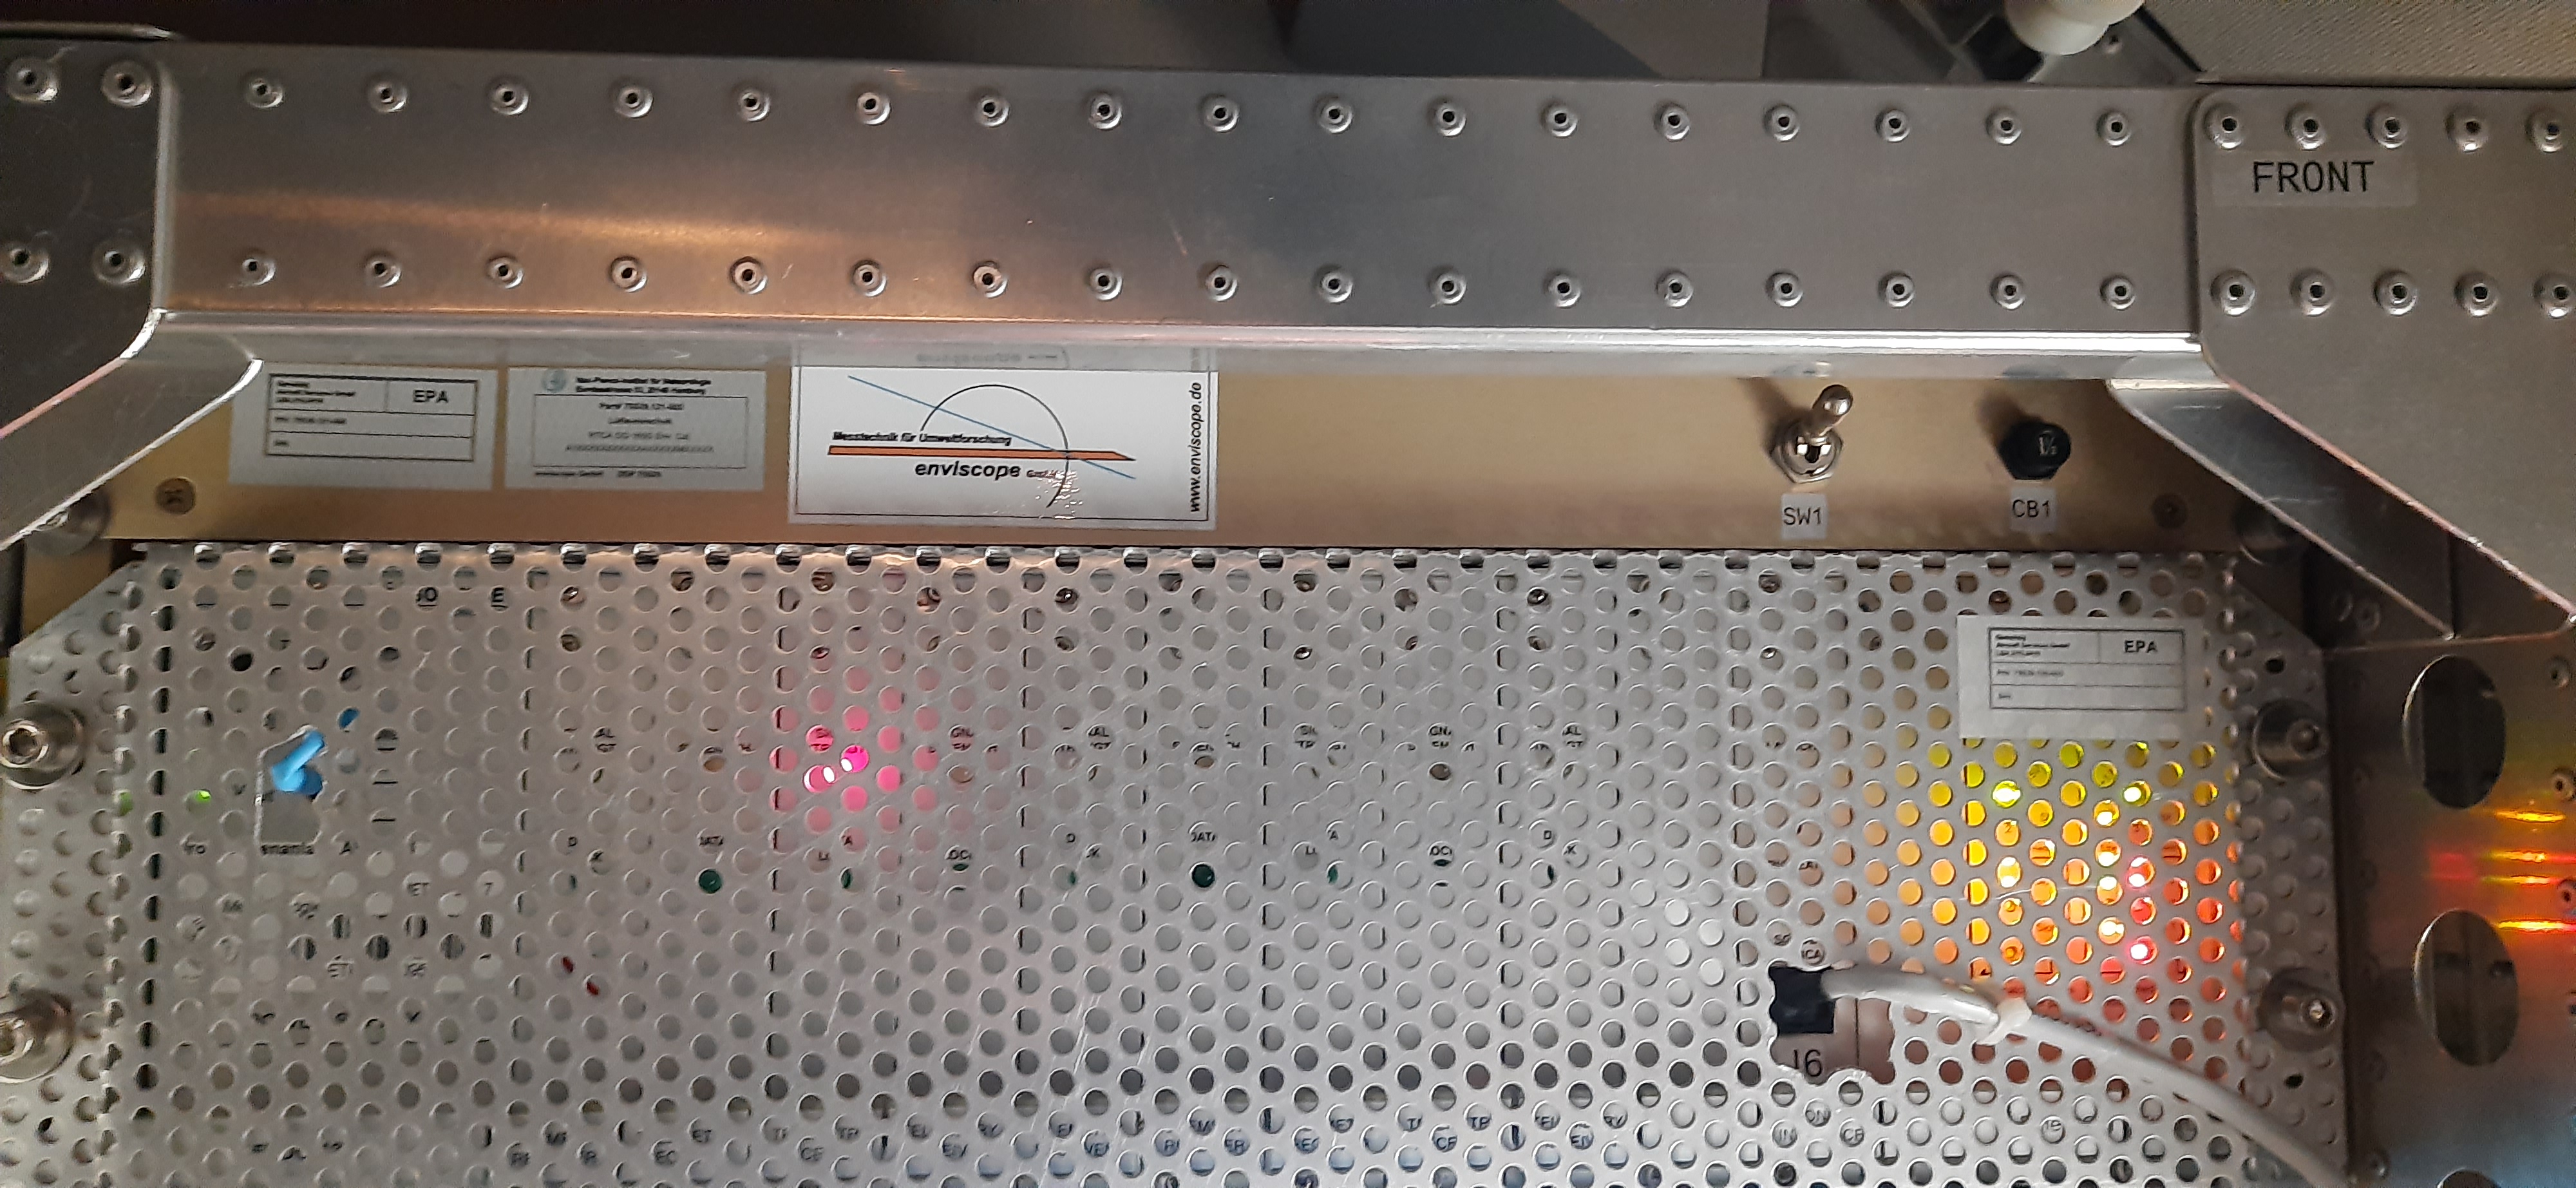
Top rack (photo courtesy: Geet George)
Power on HRDS components in the
Switch rackwith switchesSW1,SW2,SW3,SW4andSW5(in that order). Photo below shows all switches in theonposition. The breakers (marked asCB) in both racks are not to be touched - they should be kept in their original positione, i.e. pressed in.
Switch rack. Labels above the switches indicate the respective components which are powered on. (photo courtesy: Geet George)
Screen should look like the picture below after booting has completed.
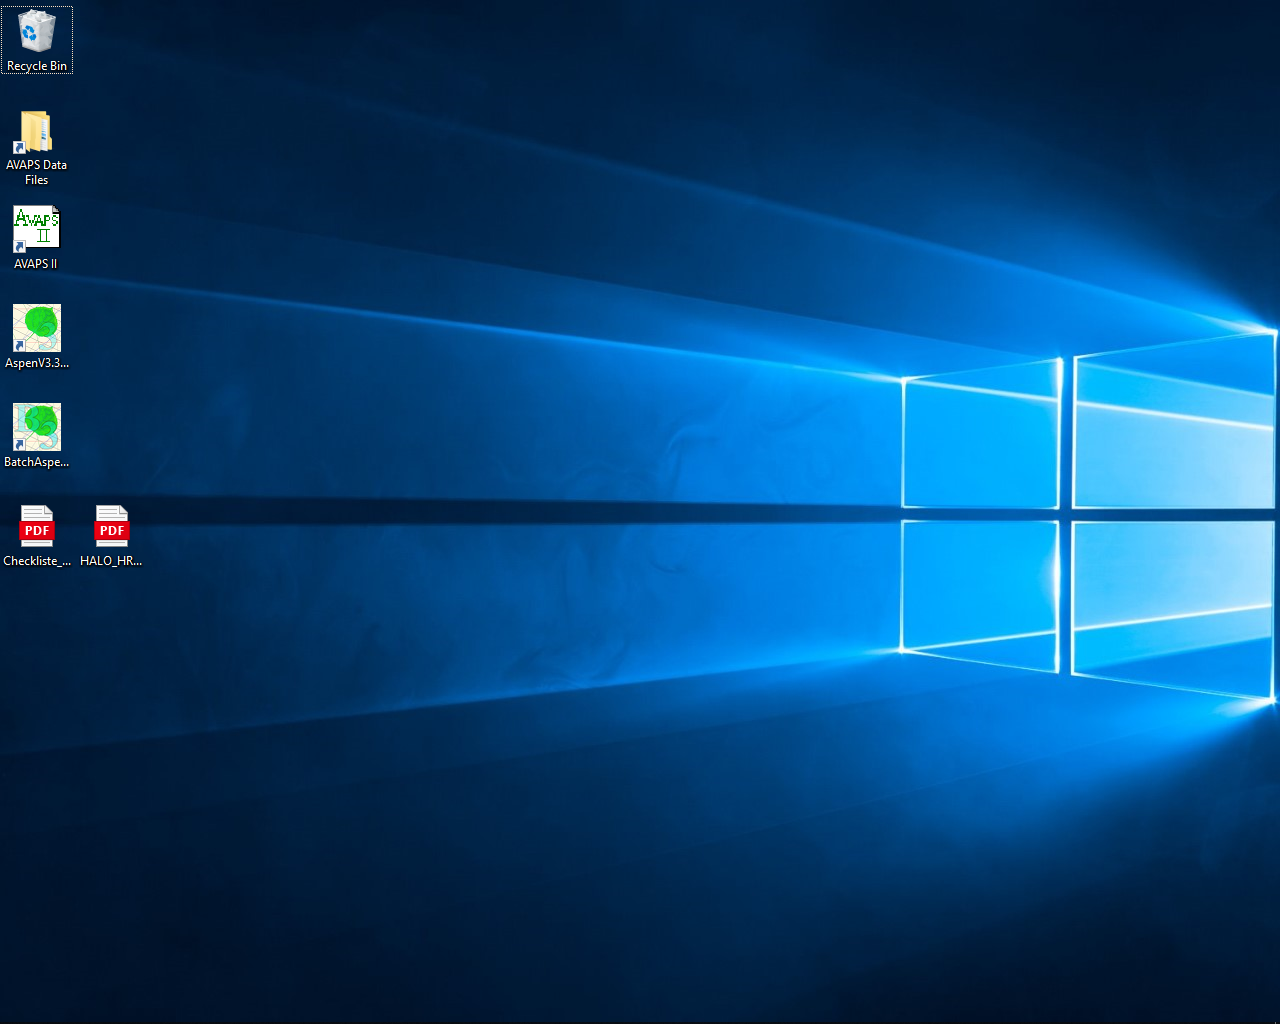
Start screen
Start the
AVAPS IIsoftware. You should find the shortcut icon on the Desktop. The software opens to look like this.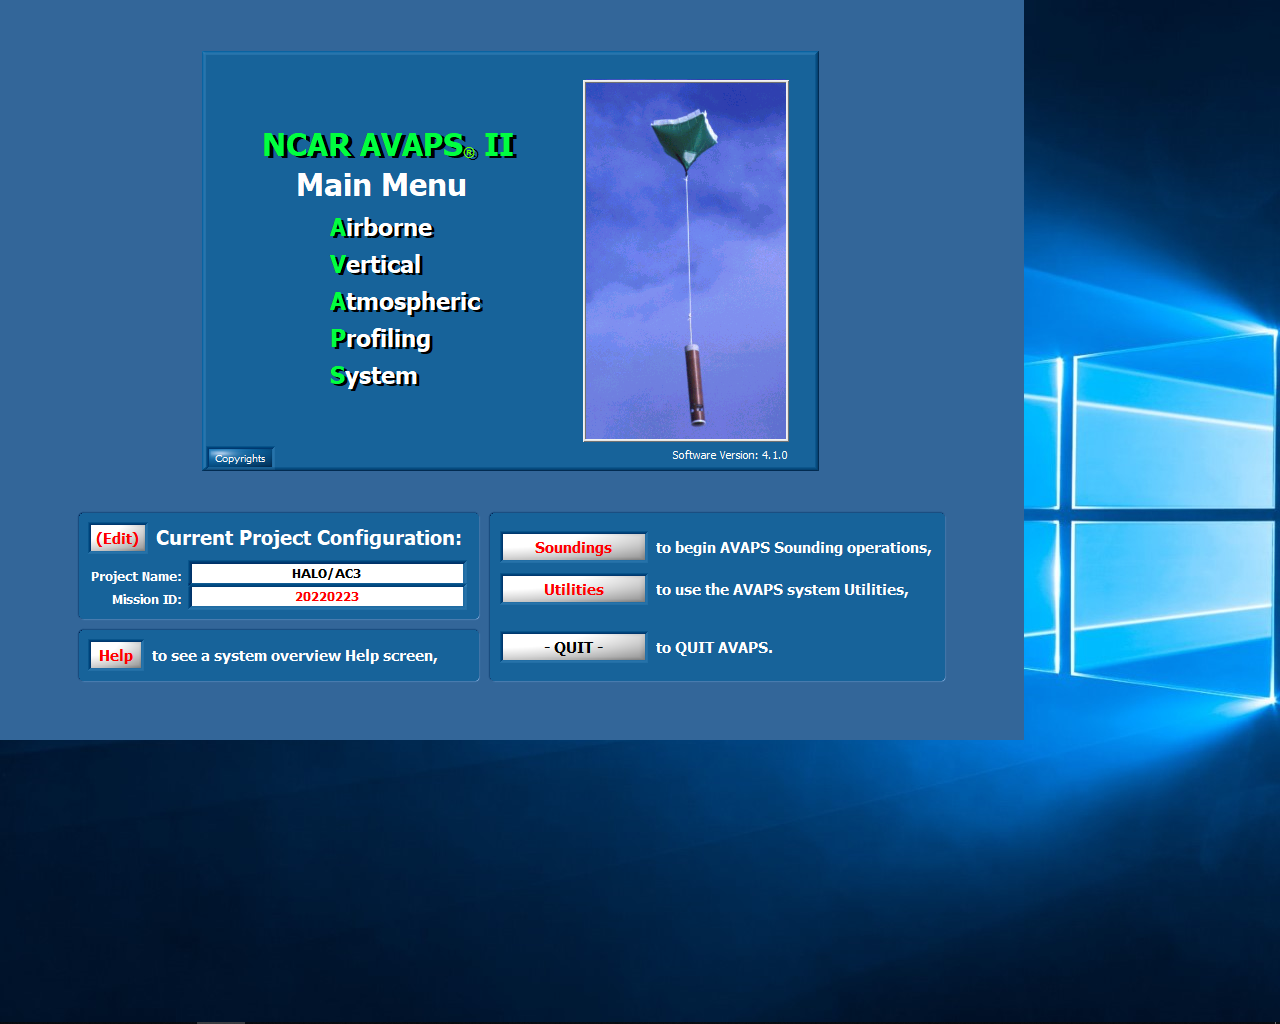
AVAPS start screen